5 Basic Tips to Taking a Great Photo
In this day and age of newer, advanced technology, most people have smartphones on them at all times. Whether we mean to or not, one major way we utilize our cellphones is to capture moments and memories with photos and videos. More and more, there are photojournalists using cellphones over cameras to document day to day life - from influencers creating content and moms documenting their day to teenagers capturing the moment and workers spreading a message. It’s easier to carry around a smartphone than it is with a camera, and great photos don’t always need the most expensive equipment. In this article, I’ll explain the 5 basics to taking a nice photo on your smart phone.
Tip #1 - Look Out for Lighting
Lighting is your best friend whenever taking a photo. Anything too dark (underexposed) or too bright (overexposed) won’t look good, even if edits are made. The key to look out for lighting differs whether you’re inside or outside. If you’re outside, you want the sun to be behind you (the photographer) because if the sun is in the photo (unless intentional) then the result is a severely underexposed and dark photograph. With the sun behind you, anything in your camera frame should be nicely lit up. If there’s no sun, say it's an overcast day, you’ll have a slightly darker image, but nothing a filter or some small edits couldn’t fix.
If you’re indoors, be aware of fluorescent lights. You’ll mostly experience overhead lighting indoors so as you’re taking photos, watch out for shadows and angle your phone camera to help eliminate shadows. Flash is also an option when shooting indoors. Something else to look out for is your photo having a blue or an orange tint inside. Fluorescent lights tend to create a hue, we see this a lot in schools, churches, grocery stores, etc… and while it won’t ruin a photo, there’s definitely ways to fix it with some color correcting.

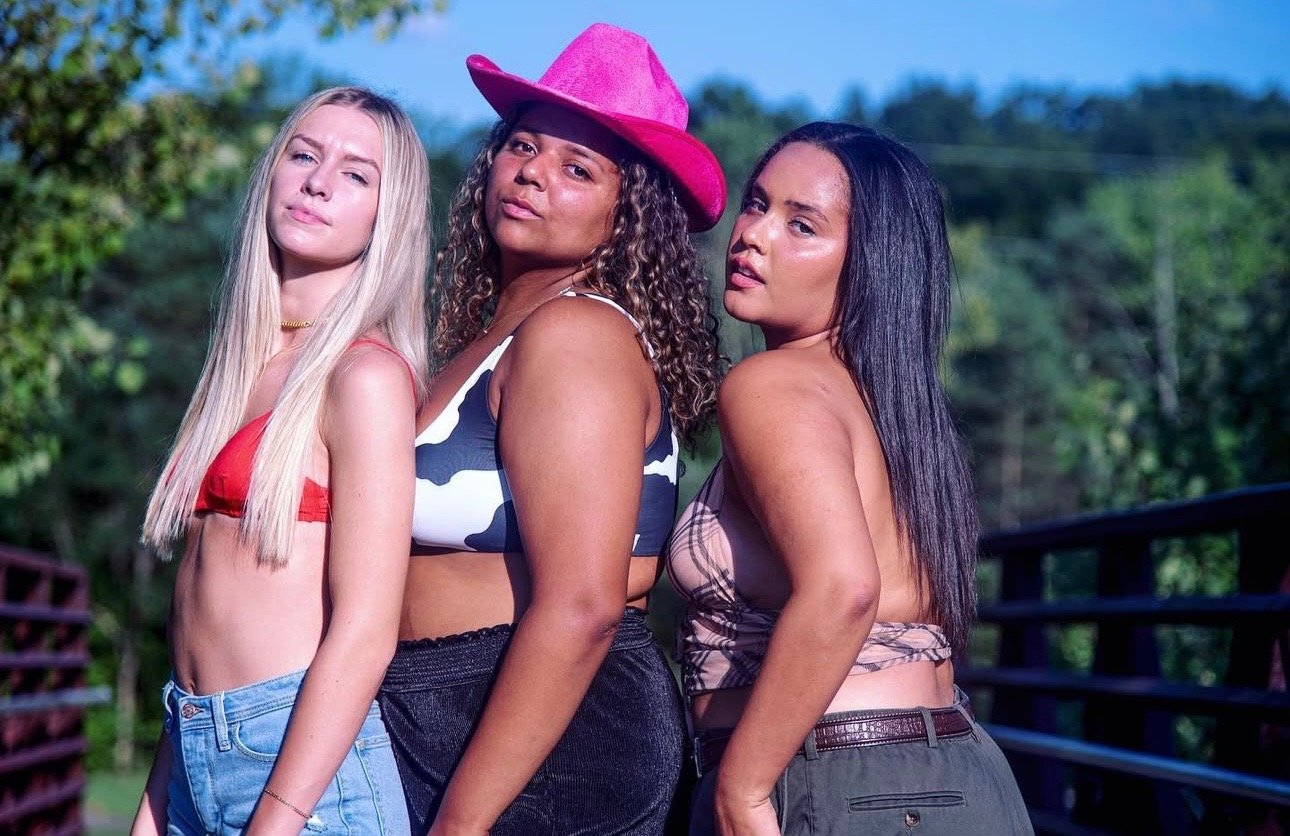
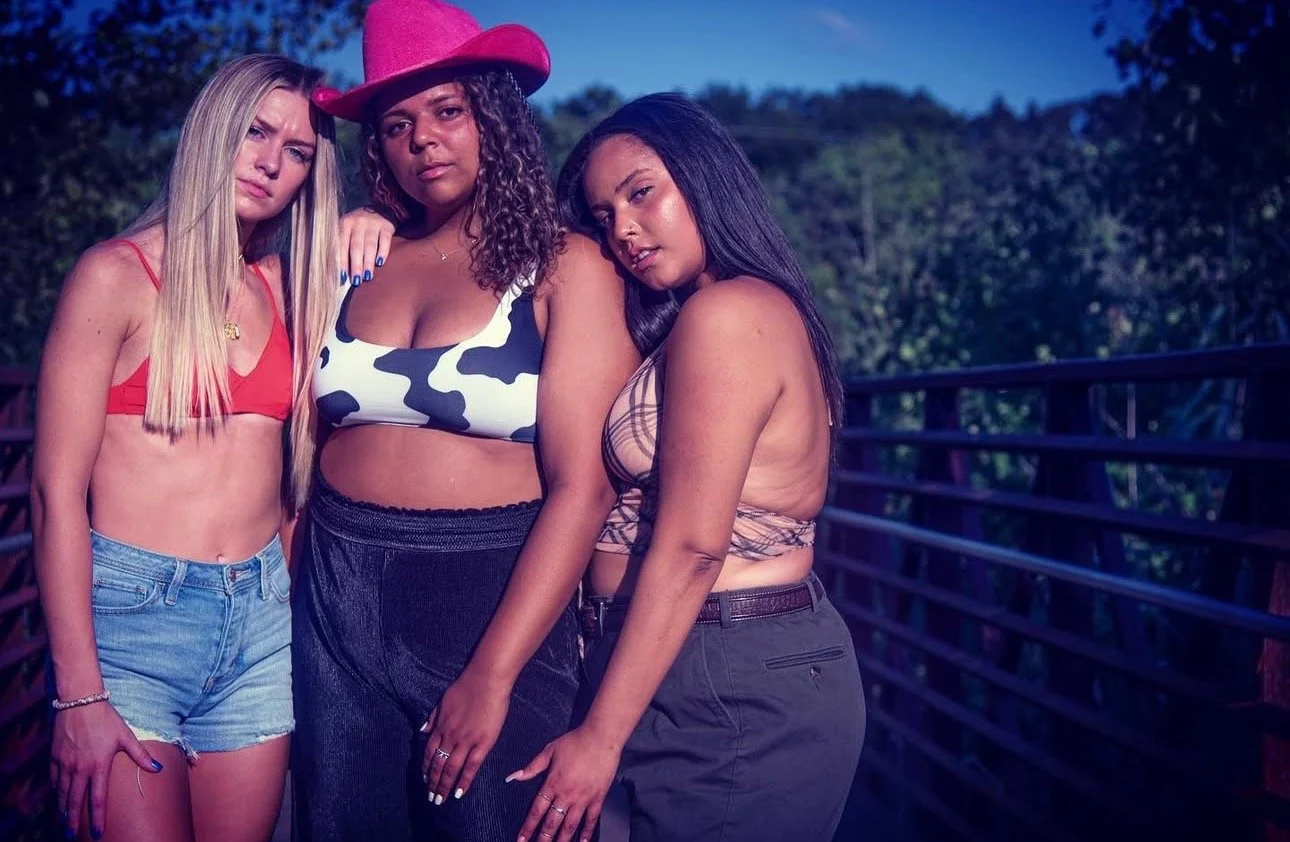
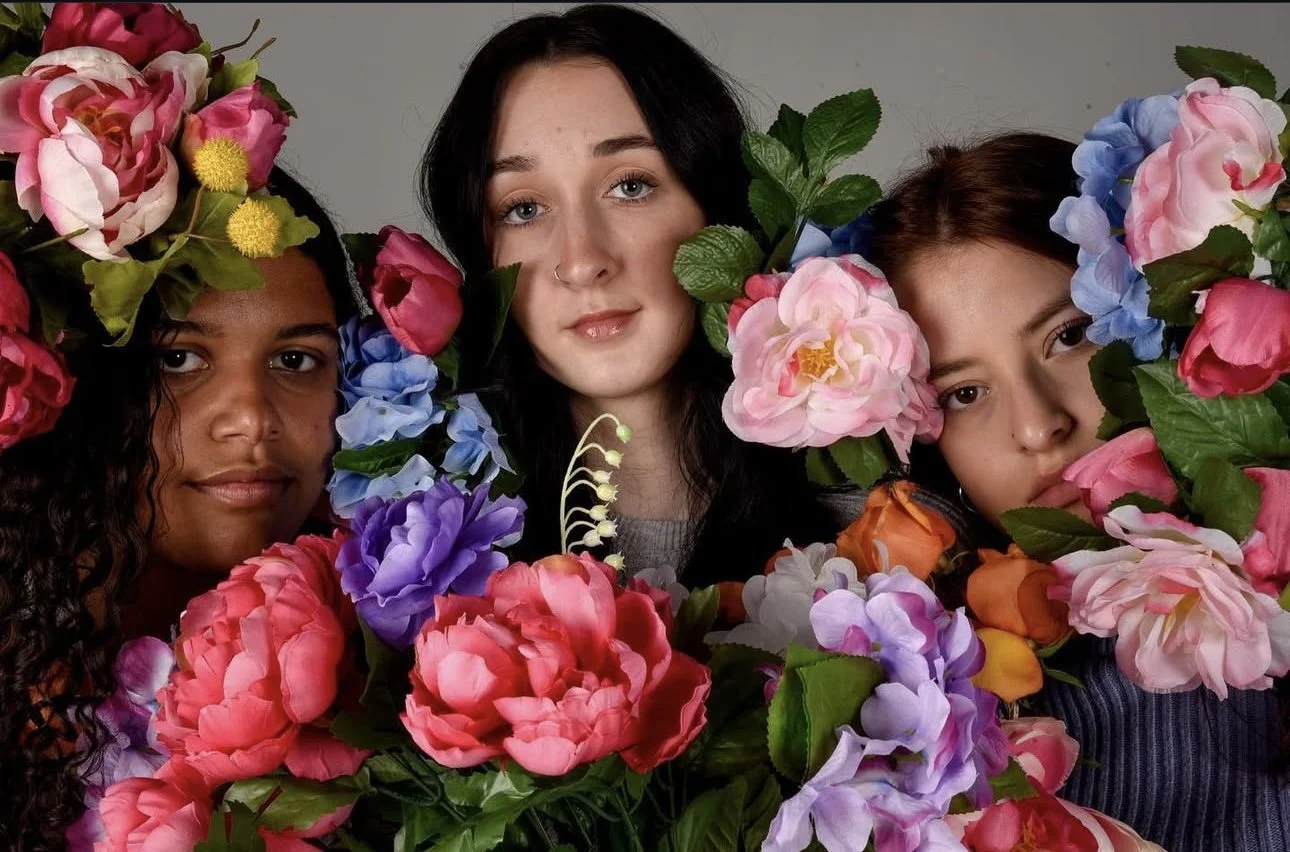
See these 3 photos and how different lighting can slightly change a photo.
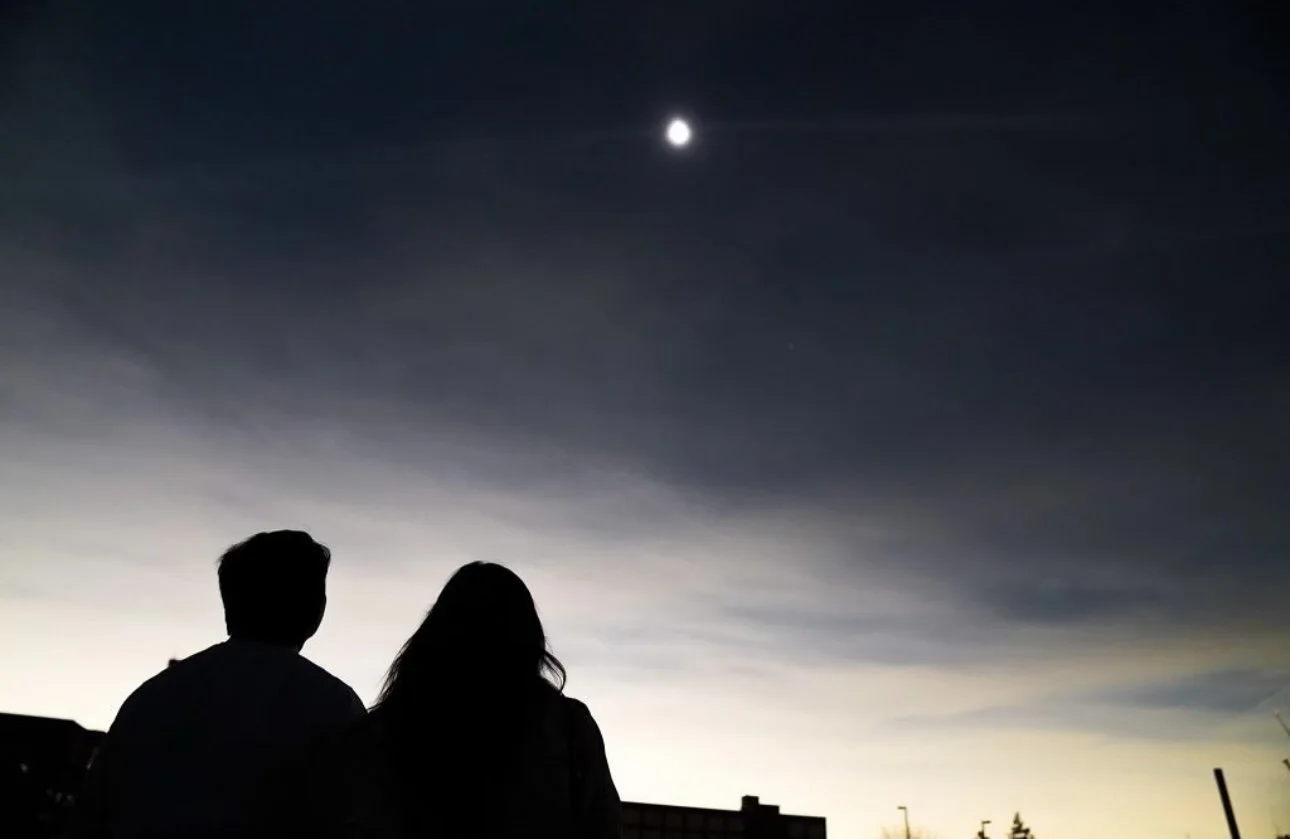
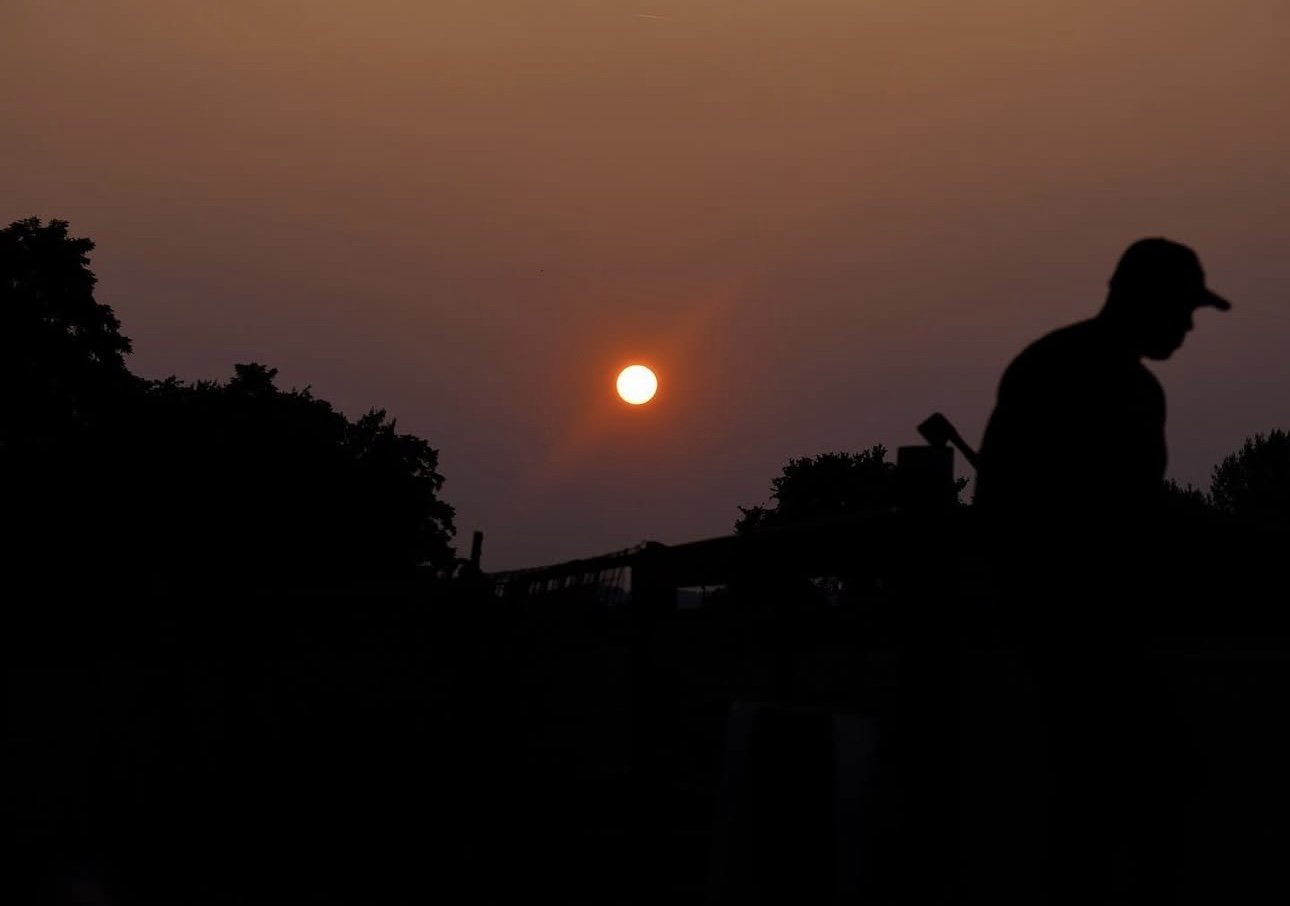
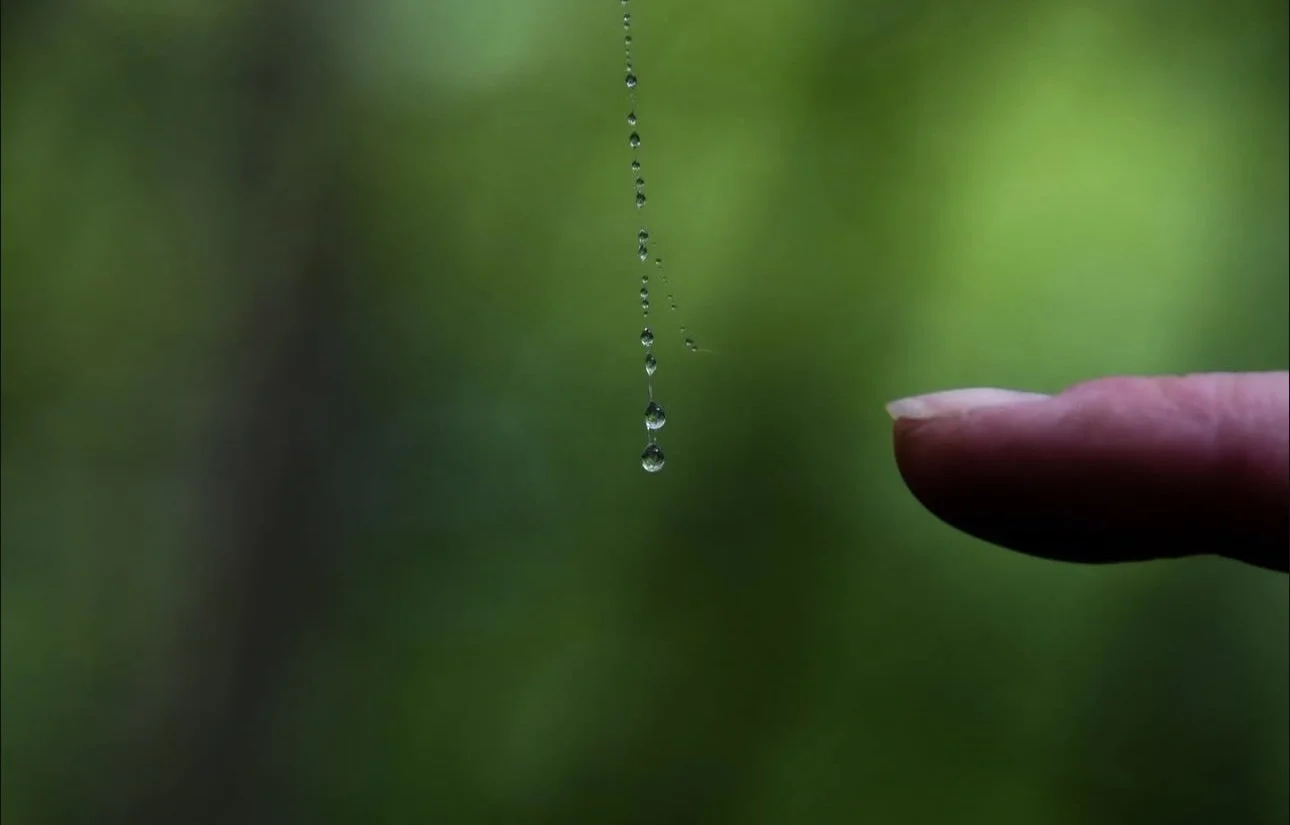
See these two photos to see what happens when you include the sun or the moon in the photo. Having the sun in the frame can create nice silhouettes, but clearly makes the photo darker so keep this in mind.
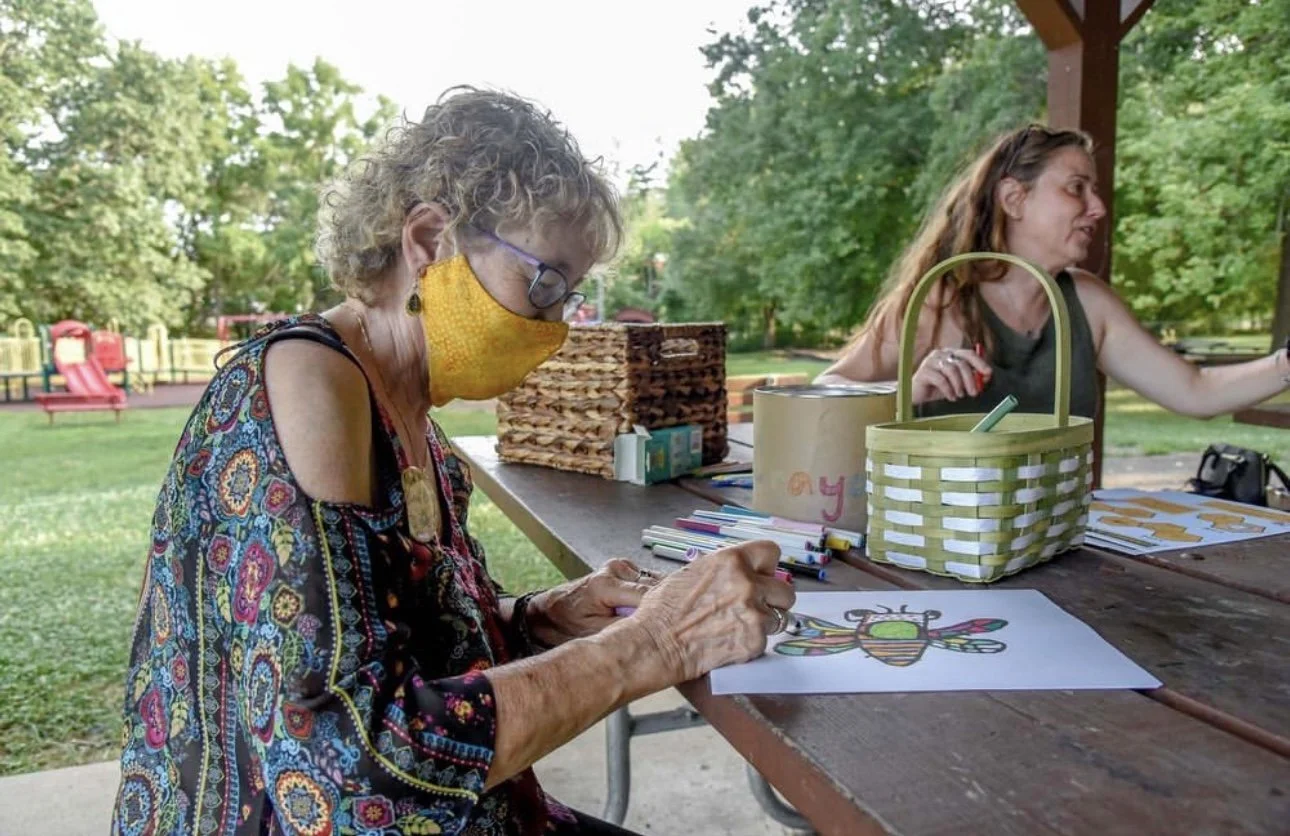
Tip #2 - Tame the Frame
It’s important to be aware of your surroundings while taking a photo. If there’s a trash can in the frame to your left then take a few steps to your right before taking the picture. Watching out for what’s in the frame can take your photos to the next level and you can avoid having to crop or edit out unwanted elements later on. Some examples of watching your frame can include…
Making sure heads, feets, and arms aren’t cut off in full body photos
Making sure the device you (the photographer) are holding isn’t being covered up by a finger and isn’t tilted left/right/forward/backward at all
Watch out for people walking in the background of the subject or object you’re shooting
Look out for unwanted materials in your photos (examples: poles, signs, trash cans, light switches, doors, food/drinks, any messes, etc…)
Another fun trick when fixing your framing could be to try zooming in and zooming out. This can also help refrain from cropping later and give you options when it comes to the photo you’ve taken.

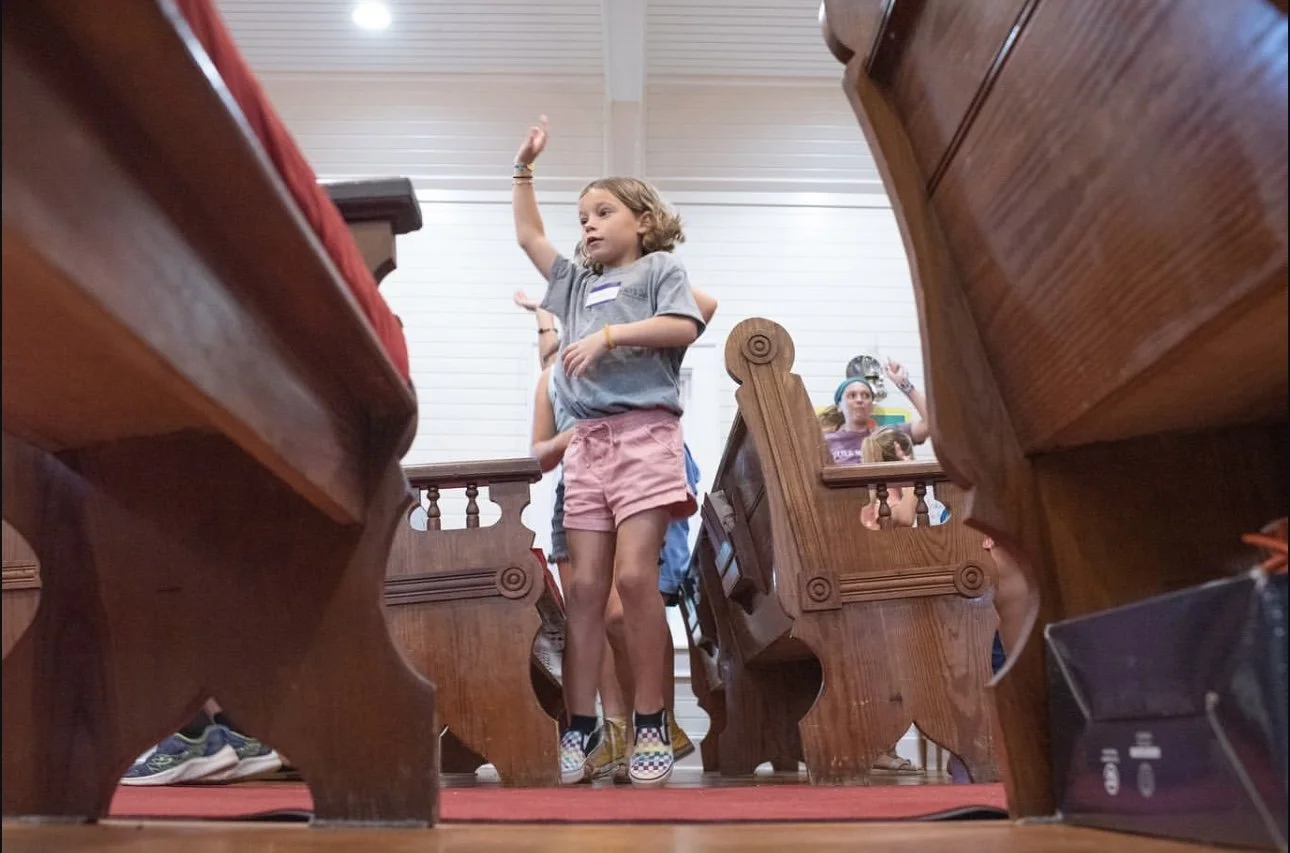


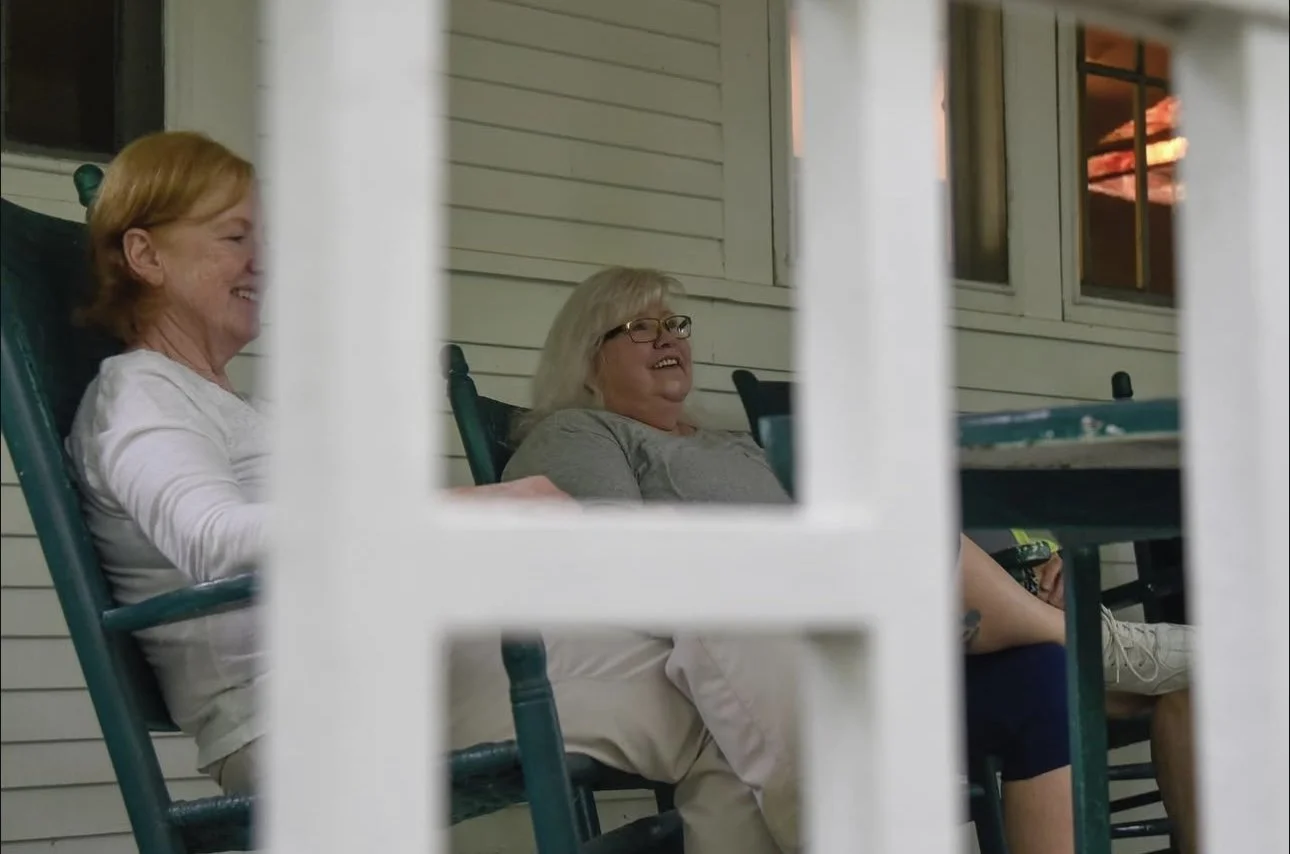
See how framing can enhance photos in these nine examples.
Tip #3 - Focus on Your Focus
This might not matter to some people, but a vast majority of people can detect a blurry photo. Unless the blur is intentional, blurry photos never really hit the mark. If you’re taking photos on your smartphone and you have trouble focusing, then my first piece of advice is slow down. Oftentimes our photos are blurry because a very exciting moment is happening and we don’t have our phones out ready to shoot so we whip them out fast and just start clicking the button a bunch of times hoping at least one of the photos aren’t blurry and capture the moment. This way of photography isn’t reliable. It’s better to take your phone on and take less photos, click the button less times, and steady your hands before snapping the picture. Maybe you won’t capture THE moment in a focused photo, but you’ll have more than one lucky photo that isn’t blurry and still captures the aftermath of the moment. If that does happen, you could always post both the blurry photo that captured the moment and the focused photo.
Where I work, it’s my job to attend events and gather content, but there are times when I’m not available. So, someone else in the office uses their phone to take photos and they will send me 20 to post and 5 of them are in focus. Honestly, even if the lighting and the framing is great in those 15 photos, I usually won’t post a blurry photo. Again, some people might not care as much and I think it depends if the photos are for professional or personal use. In my case, I am posting social media content for a very professional organization, so it would lessen our quality to post blurry photos. We aren’t always perfect though and there have been a few times when we’ve had to post blurry photos because it’s all we’ve got, and in those cases I’ve tried sharpening or increasing the contrast on the photo using my photo editing platform. If you do find yourself with only blurry photos to work with, there are a few editing hacks to make the photos slightly less blurry and more postable.
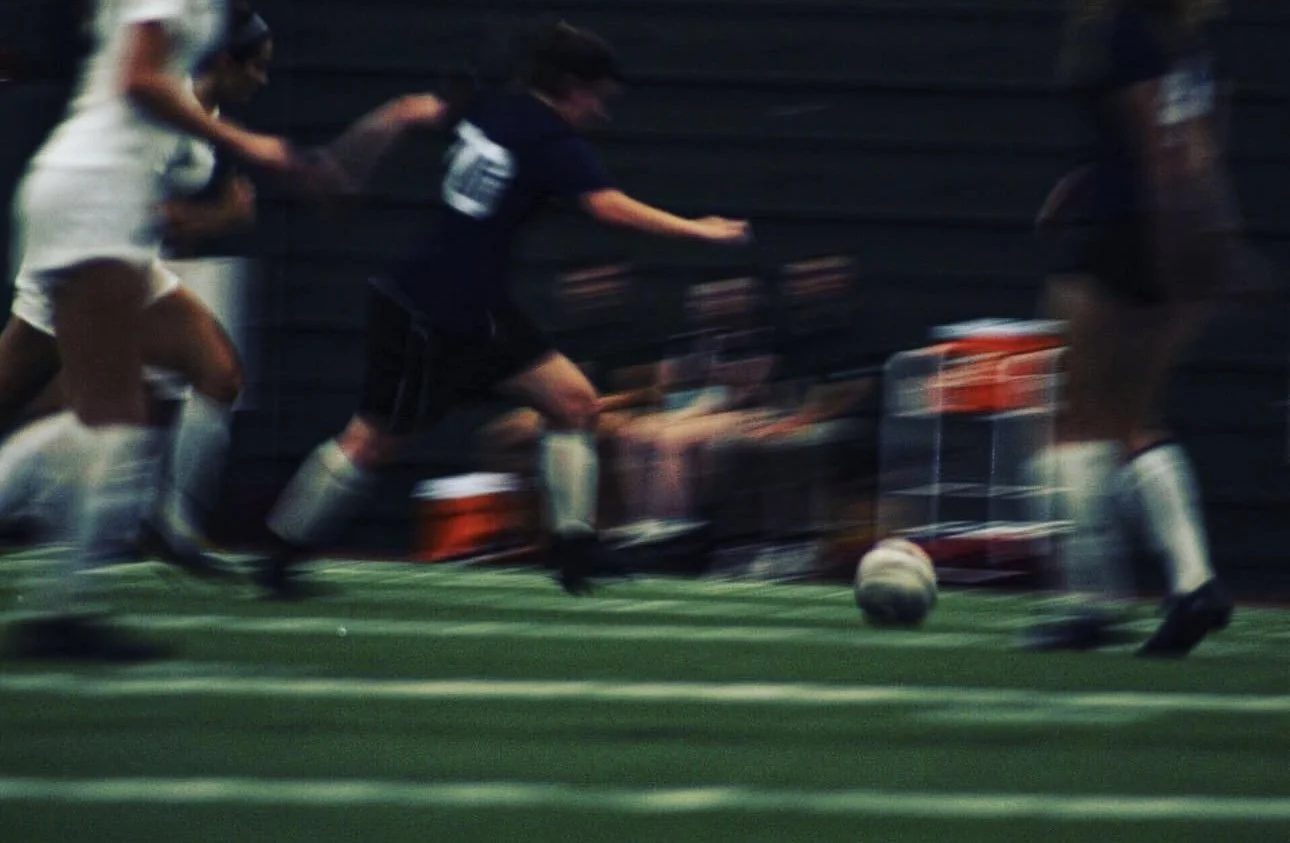
Notice how blur is used in the top two photos versus how focus is used in the bottom two images. Blurry doesn’t always equal bad and there’s a way to use blur to your advantage. On the flip side, some photos that have motion will communicate better and be more effective if they are crisp and in focus.
Tip #4 - Take Portrait AND Landscape
Whenever I’m out with my girls and we all take turns snapping outfit pictures, I make it my mission to give them OPTIONS. There are so many social media platforms out there nowadays so you never really know where the photos you take for others will be posted. So something I always tell my friends when taking photos of me or my coworkers when capturing events is to take portrait (vertical) and landscape (horizontal) photos. The same goes for if you’re taking a video. Because of the way some social media platforms are set up, your images might automatically crop to whatever your first image in that group is. For example, Instagram does this so if you use a vertical image as the first photo in your group of 7 photos, then the rest of the 6 photos will be cropped to fit that vertical frame from the first photo. Even if the app doesn’t automatically crop the image, having a portrait and a landscape photo posted next to each other will look odd. Think about how that looks on Facebook or Twitter. This might be another one of those areas some people don’t necessarily mind, but trust me, it makes a difference.
The best way to ensure you’re giving yourself and others some options when shooting is to take vertical AND horizontal photos. I do this every time a friend or a stranger hands me a phone and asks me to shoot and I’ve never heard negative feedback for giving someone multiple options. You might post the landscape selfie to the instagram feed and the portrait selfie to the instagram story. So, with such a simple trick you’ve created multi-platform content and elevated your photography strategy.
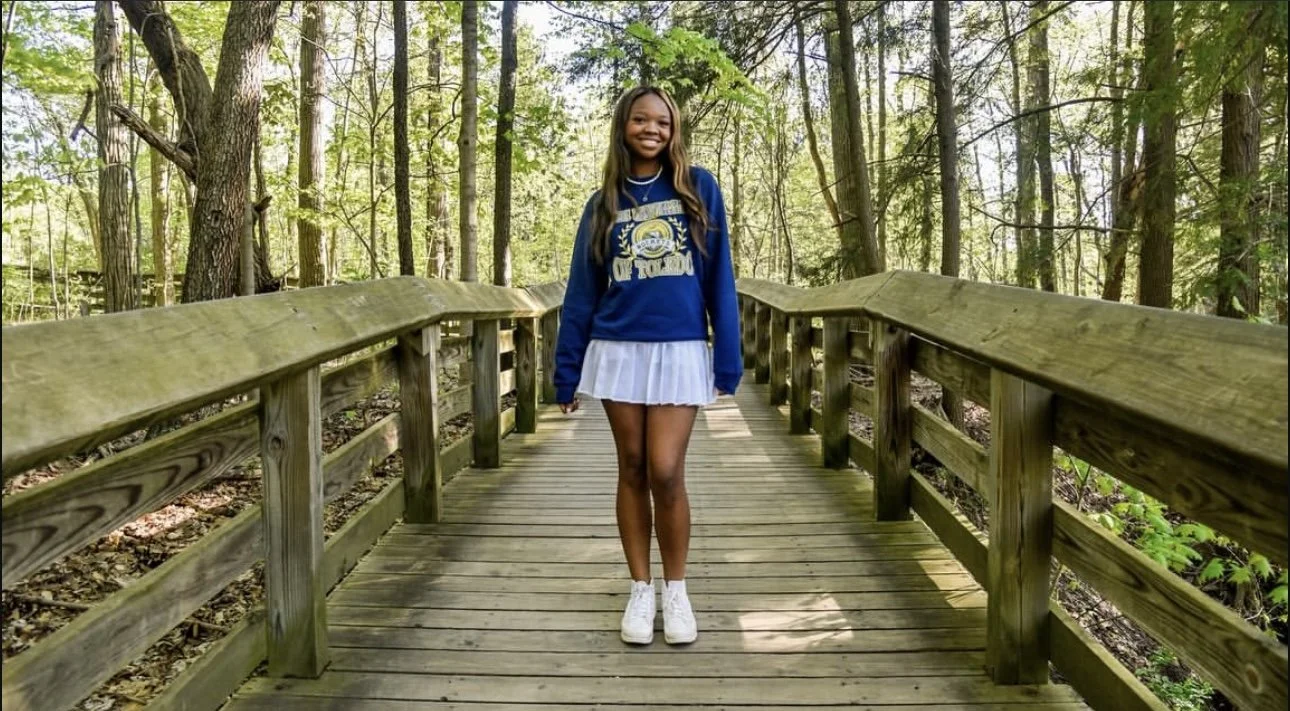
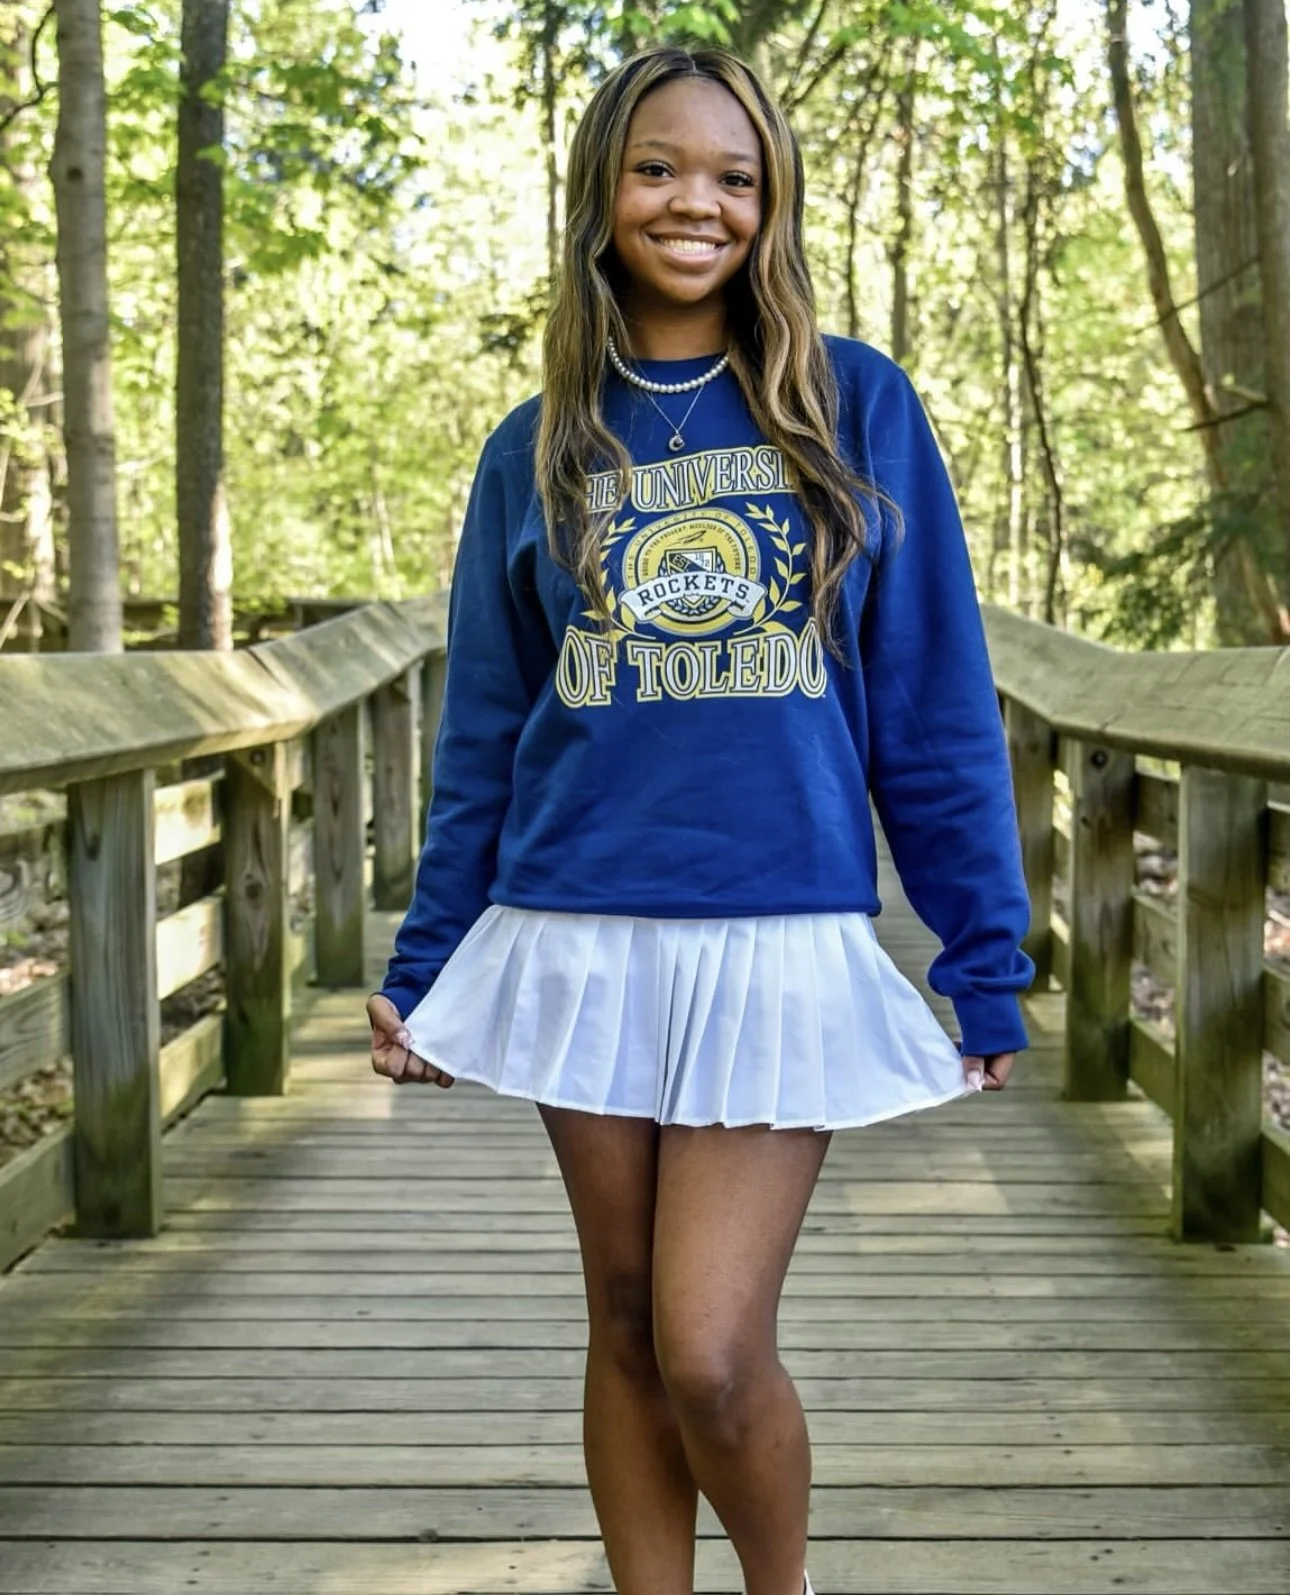
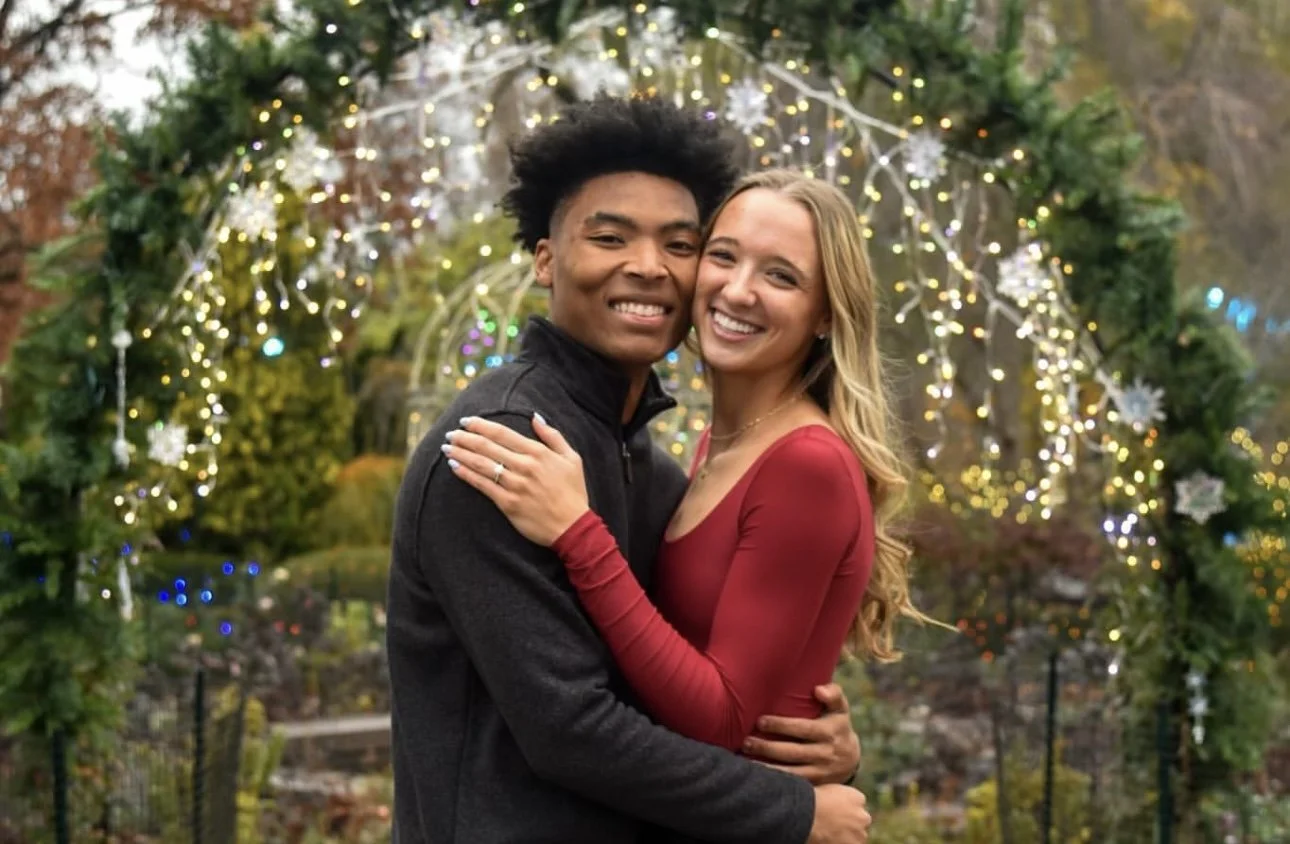
Same photo but one is shot horizontally and one is shot vertically. Gives the photographer and the subject or client some options for printing and posting.
Tip #5 - Never Enough Angles
Last but not least, you can never shoot enough angles. You’d be surprised how shooting from different angles, even just messing around and with no real strategy behind it, could capture some of the most interesting and diverse content. This goes in the same vein of giving yourself some options and playing around a bit with your framing.
When it comes to taking photos from multiple different angles, the main piece of advice here is follow tips 1-4 first! Make sure you get that one, well lit, nicely framed, in focus shot both horizontally and vertically so that if all else fails, you’ll at least have two nice options. Once you’ve done that, then move your camera, move your body, move the subject around and try unique angles.
Take some photos angled down, angled up, from the side, in between two objects in the foreground, from a bird's eye view or a worm's eye view. If you’re taking photos of an object then move your body to get some new perspectives. If you’re taking a photo of people, then have them move around and try new poses.
There are some professional photography techniques you could apply if you’re really interested in elevating your photos such as rule of thirds (putting your subject slightly to the right or left of the frame and not centered in the frame), depth of field (having one subject in the far background and one in the near foreground and altering focus between the two), or fill the frame (have your subject full up the frame and eliminate as much white or dead space as possible in the background). I’d be happy to explain more photography techniques if you give this blog and like and share it with some friends!


See how all 4 images are of the same moment but from 4 different angles. Give yourself some options and scale down later!
These are tips I give my coworkers whenever they send me photos they’ve taken on their phones. Most of them claim they aren’t “tech savvy” and don’t know how to take a good photo. What you’ll notice with these 5 tips are none of them have anything to do with the technology you’re using, and all about how YOU, the photographer, operate whatever device you have. I did provide some editing options (ex: adding light, color correcting, sharpening, increasing contrast, etc…) that are easy to do and available on most social media apps already. Stay tuned for my next blog post where I’ll get into some basic photo editing tips!
At the end of the day, it really doesn’t take much to elevate your photos so try these tips out next time you’re capturing the moment. Whether you’re a beginner with a smartphone or a self-taught pro with your first camera, learning to use the device you always have on you to document will help increase your photo confidence. Now go out there and shoot your shot!
All photos are taken by me and can be viewed on my instagram at @patriciaporterphotography!